Whenever the topic of scrapbooking comes up in mom conversations, it usually goes like this: "I have albums for my first child, but since the second one was born, I haven't done anything." For those of us with no children, or just one, it's still hard to find the time. Photos pile up in boxes, to be sorted "later." Or they get uploaded to the computer and then pile up on your hard drive.
And then: how do you even do this scrapbooking thing? The Creative Memories version of scrapbooking has us create artistic spreads for each moment in our lives or our child's lives. Beautiful papers, stickers, printed sayings, borders. Ack! Too much overhead for most of us.
Here's how to scrapbook the common-sense way.
 |
| A simple scrapbook spread - no fuss, no fancy papers |
What you need
- scrapbook album with cardstock pages (Kolo makes great ones)
- printed photos
- Glue Dots or photo splits
- mementos from the trip or event: ticket stubs, maps, restaurant menus, cards
- optional: plastic page protectors
 |
| What you need, clockwise from left: scrapbook album, photo splits, photos |
The first thing to start doing, even before your trip or event is over, is to make sure to save mementos as you go. When you go to a memorable restaurant, save the receipt, menu, or the restaurant's business card. Save notes, brochures, movie ticket stubs, bar coasters - anything that reminds you of a special time in your trip or event.
Then, keep all the mementos gathered together in a folder while you sort through your digital photos. On a Mac, you can flag photos in iPhoto and then can export them directly to Shutterfly using the Export option under the File menu. Before exporting, you can do some cleanup, cropping, and red-eye removal via the iPhoto Edit option.
Once the printed photos arrive, you're ready to begin.
 |
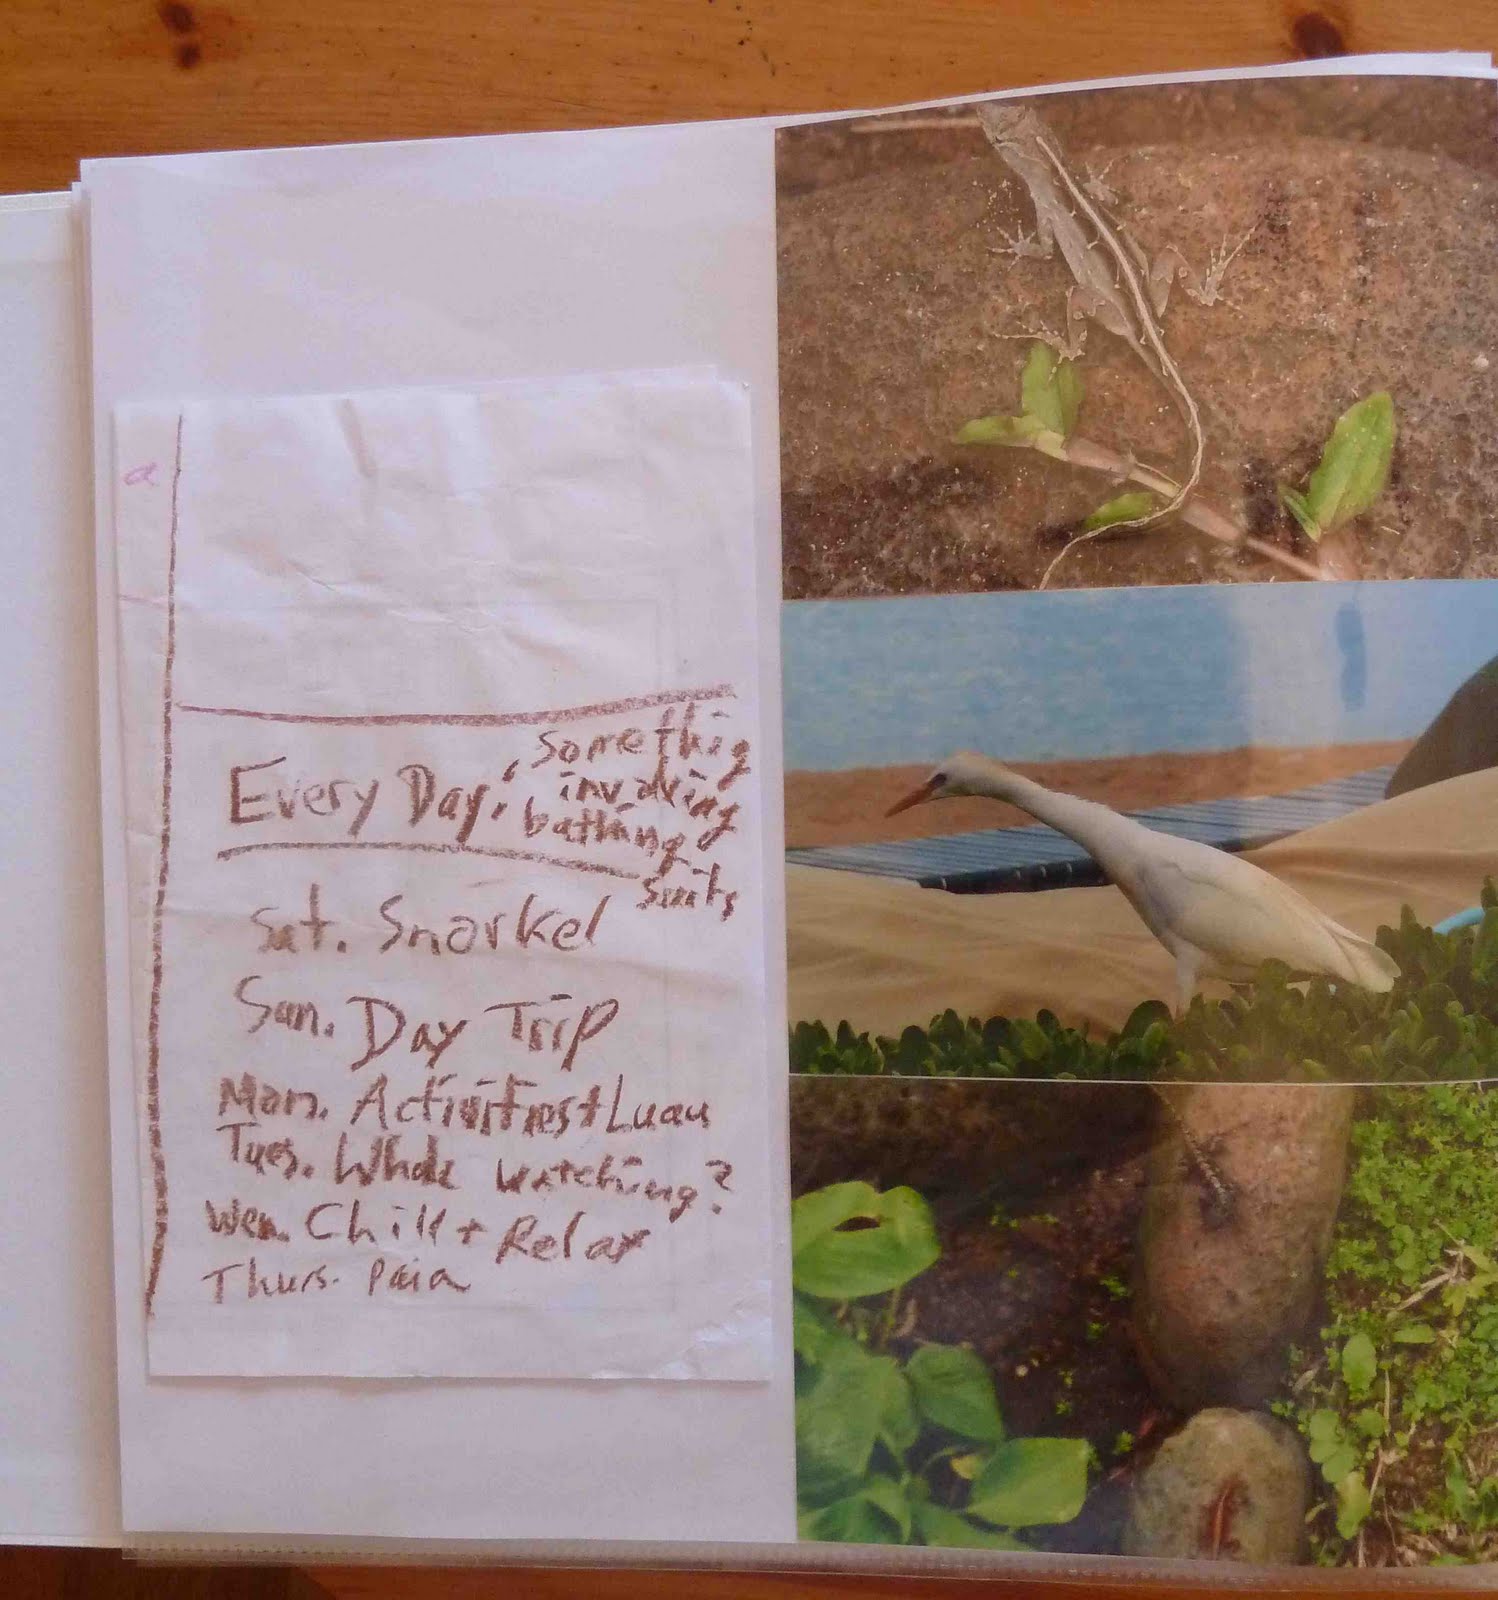
| Put glue dots or photo splits on the back corners of each photo and stick them down. You can use photo corners instead if you need to remove the photos later. Try for a balance of photos and mementos on your pages. This page stacks three nature photos next to my daughter's handwritten trip itinerary ("Chill + relax"!). |
 |
| Photos don't have to be straight up and down. You can get a little fancy and angle them in different directions. If you have enough photos to do so, it's a nice look to try for one theme per page. This is the luau page; as you saw, the preceding page photo had a nature theme. |
 |
| Try for a dynamic look on two page spreads - they can be matching in the way you display the photos, or different, as here. The left page stacks a bunch of mementos and photos together. The right page is more spare with five photos arranged in precise rows. |
 |
| You can add a little scrapbook border at the bottom, as with this whale border. You can really get sucked into borders, stickers, and pretty papers to add pizzazz to your scrapbooks. That's wonderful - just don't let the additional overhead of gathering all those materials prevent you from scrapbooking in the first place. |
Happy scrapbooking!


No comments:
Post a Comment