For this project, we'll be making a succulent terrarium that needs only infrequent watering.
 |
| The finished terrarium. |
- glass globe terrarium (you can find terrariums online at Paxton Gate or Flora Grubb Gardens)
- succulents - two to three for a small terrarium as shown here; or more for a larger-sized terrarium
- active charcoal
- potting medium for cactus and succulents
- rocks and stones of varying sizes
- distilled water
- small shovel or scoop that can fit inside the terrarium's opening
optional:
- terrarium tweezer (available at Terrain) or extra-long craft tweezers
- lichens and moss
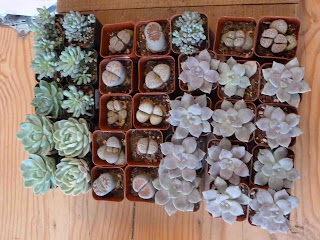 |
| Here's an assortment of succulents. I used echeveria and lithops for this terrarium. |
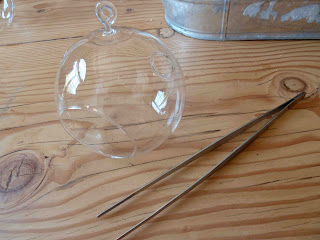 |
| Terrarium and long tweezers |
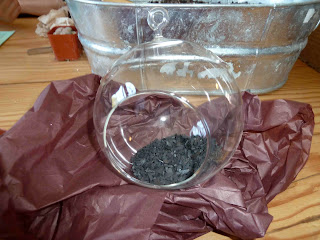 |
| Active charcoal acts as a drainage layer at the bottom of the terrarium |
Put in less soil than you think you'll need; you can always add in more later. These little terrariums fill up quickly.
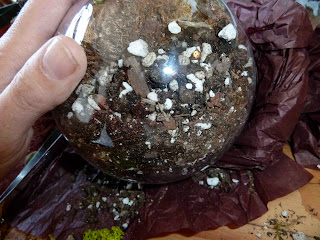 |
| Terrarium seen from the back, with soil angling upward. |
In the preceding photo, you can see the backside of some mood moss, a thick, clumping, grassy-looking moss. We're using that as a bolster for our composition at the back of the terrarium.
In the photo below, you can see the green mood moss from the front. It makes a lovely background for the silvery succulents. Then, add in a larger rock as another anchor for your composition. In the photo below, you can see a gray stone at the bottom right; I ended up moving it to the back at the top later on.
Time to add in your plants. There's less room in the terrarium than you would think; two or three plants is all that can fit in here. Use the smallest container size of succulent that you can find at your local nursery.
Squeeze the container gently to release the plant, and brush excess soil away from the roots. Carefully place the plant into the terrarium, filling in with extra soil around the plant to cover the roots. Do the same for the other succulents you're using, placing them in a nice composition, with larger ones toward the back and smaller plants toward the front.
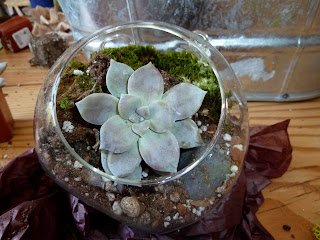 |
| Placing moss and succulents. |
There are different things to see from almost any angle of viewing this terrarium. The only part that's not that hot looking is the backside, where we backfilled the soil up at an angle.
Our terrarium's almost done. Now we just need to give it its first watering. Because terrariums are such small, enclosed ecosystems without drainage, the salts and minerals from tap water can be damaging to the plants. You'll want to use distilled water or rainwater to water your terrarium. The easiest way to water a terrarium of this shape is to use a spray bottle or turkey baster, spraying the soil till it's damp. Once it's damp (not soaked), pat it down and settle in the plants more firmly. Wipe any water overspray off the inside walls with a paper towel.
For succulents, you can wait till the soil's dry before watering again.
Place your terrarium in an area that gets sunlight or bright artificial light, but not steady, hot sun - the glass walls magnify the sun's heat and can burn the plants.
And one more terrarium perk: if you want a different composition, you can rearrange the mosses, lichens, and stones for a different effect whenever you like.

No comments:
Post a Comment