Showing posts with label art metal. Show all posts

Saturday, April 2, 2011

Week 13: Metal Mermaid

There's something so compelling about metal - it's shiny, it's smooth, and with lightweight art metal, you can do just about anything you'd like with it. You can cut it with scissors, distress it, emboss it, punch holes in it - and for this week, create a piece of (somewhat) outdoor-safe art. Building on the sea themes of the last few weeks, we'll create a mermaid, and as a bonus, a little fishy friend for her.

Mermaid made of embossed, inked metal

What you need

  • paper, pencil, eraser, and scissors
  • colored art metal (Ten Seconds Studio)
  • medium weight pewter-colored art metal (Amaco ArtEmboss)
  • 1/8 inch hole punch
  • brads (Tim Holtz Idea-ology mini fasteners)
  • paper stump, fine-point stylus
  • sanding block
  • art metal mold (Ten Seconds Studio) 
  • alcohol inks and alcohol ink applicatr (Ranger Adirondack)
  • glue dots (Zots)
  • popsicle sticks
  • seashells

Some of the items you need, clockwise from left: art metal, art metal mold, scissors, sanding block, paper stump, glue dots, popsicle sticks, seasehlls, brads, alcohol inks and alcohol ink applicator
Here's how to create the mermaid:
Sketch out your mermaid on a large sheet of paper. Note where the jointed parts will be: neck, elbows, hand, tail.
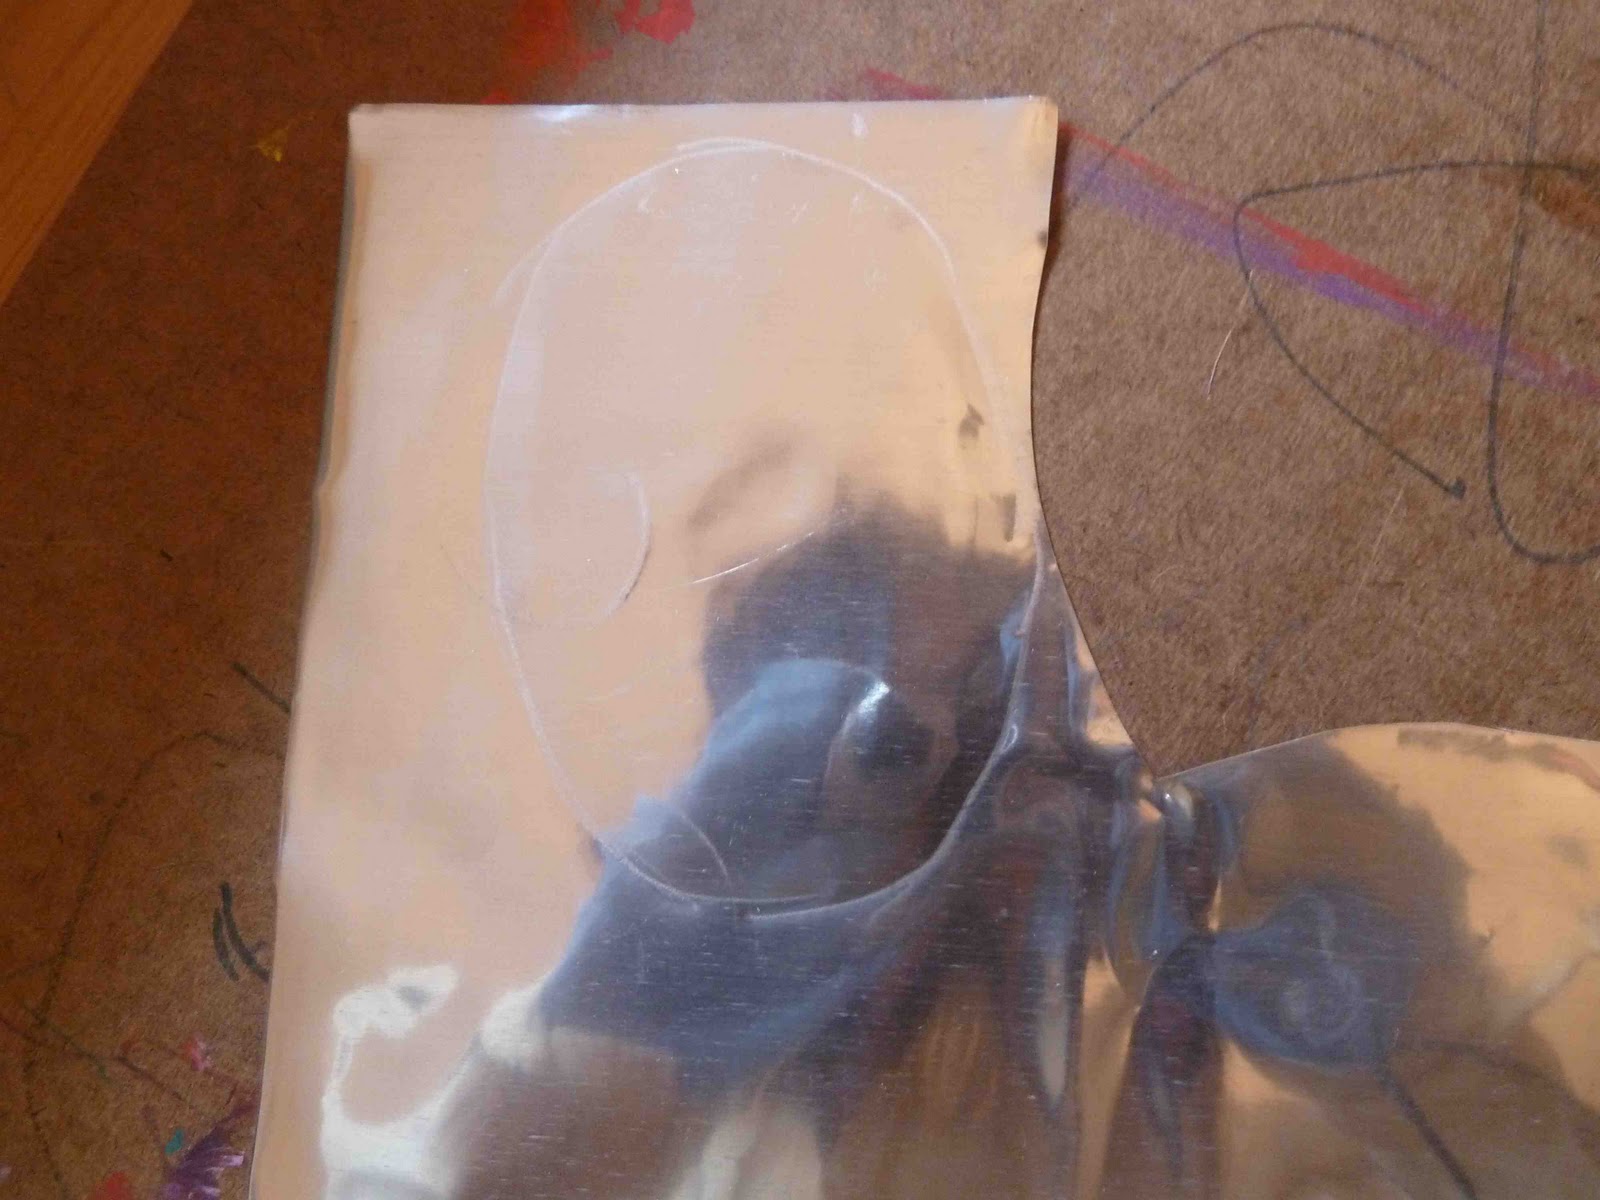
Place the pewter art metal underneath the paper. Using a fine-point wood stylus (or any sharp-pointed tool), trace over each part of the mermaid. The impression will transfer to the metal.
Cut out the pieces, punching holes for the jointed parts.
Put the mermaid together with brads and, using scissors, make any adjustments needed to the shapes. Then take the tail parts off so you can emboss and color them later.
Using a gold piece of art metal and the wood stylus, draw stylized shapes for the hair and cut them out.
Time to emboss! Using the paper stump, rub some embossed patterns into the hair and tail.
Use the sanding block to rub over the raised areas, removing the color from the raised spots. Wipe down the metal with a damp paper towel.
Here are all the embossed pieces, ready for coloring.
Add alcohol ink drop by drop onto the applicator felt in your chosen colors, then use the applicator to stamp the colors all over the embossed pieces. The more times you stamp with the ink, the more saturated the colors will look.
Apply glue dots to the hair pieces and stick them on in a wild and wavy pattern. The glue dots are quite strong; you'll only need one per piece of hair.
Put the mermaid pieces back together with brads, turn her over, and using glue dots, apply the popsicle sticks to the back of the body parts to give the girl some structure so she doesn't flop around.

Add embellishments: small seashells on the tail, a seashell belly button, and shell bikini, hair piece, and bracelet.

The 8-year-old got into the sea theme and made a fishy friend for our mermaid.
I'm planning to hang the mermaid outside, on a protected wall. She should do fine during the dry season; the glue dots and alcohol inks might not hold up in the rain. The best part: because she's poseable, and the metal is soft and bendable, you can change her position depending on your mood. Interactive art indeed.

Sunday, February 6, 2011

Week 6: Grunge Valentine

I'm cool with the concept of Valentine's Day, but not the marketing. For example: those overpriced prix-fixe dinners where you're packed in like sardines. And the treacly pink and red frilly heart cards with pre-fab poems inside? Ick. For this week's project, let's make a card that's romantic but low-key -- camouflage colors rather than over-the-top faux romance.
No pink, red, or doily frills on this card.

What You Need

  • blank card (The Paper Company or Reflections)
  • art metal (Ten Seconds Studio)
  • art metal tools (paper stump, mold, sanding block)
  • pigment inks (Palette)
  • rubber stamps of your choice
  • alcohol inks (Adirondack)
  • alcohol ink applicator and applicator felt (Adirondack)
  • glue stick, tacky glue, and double-sided foam tape
  • wax paper
  • embellishments (ribbon, Dresden foil trim)

Note: you can buy all these supplies at a craft store, such as Michael's, except for the art metal (find it via Amazon) and the Dresden foil trim (www.vintageornaments.com)
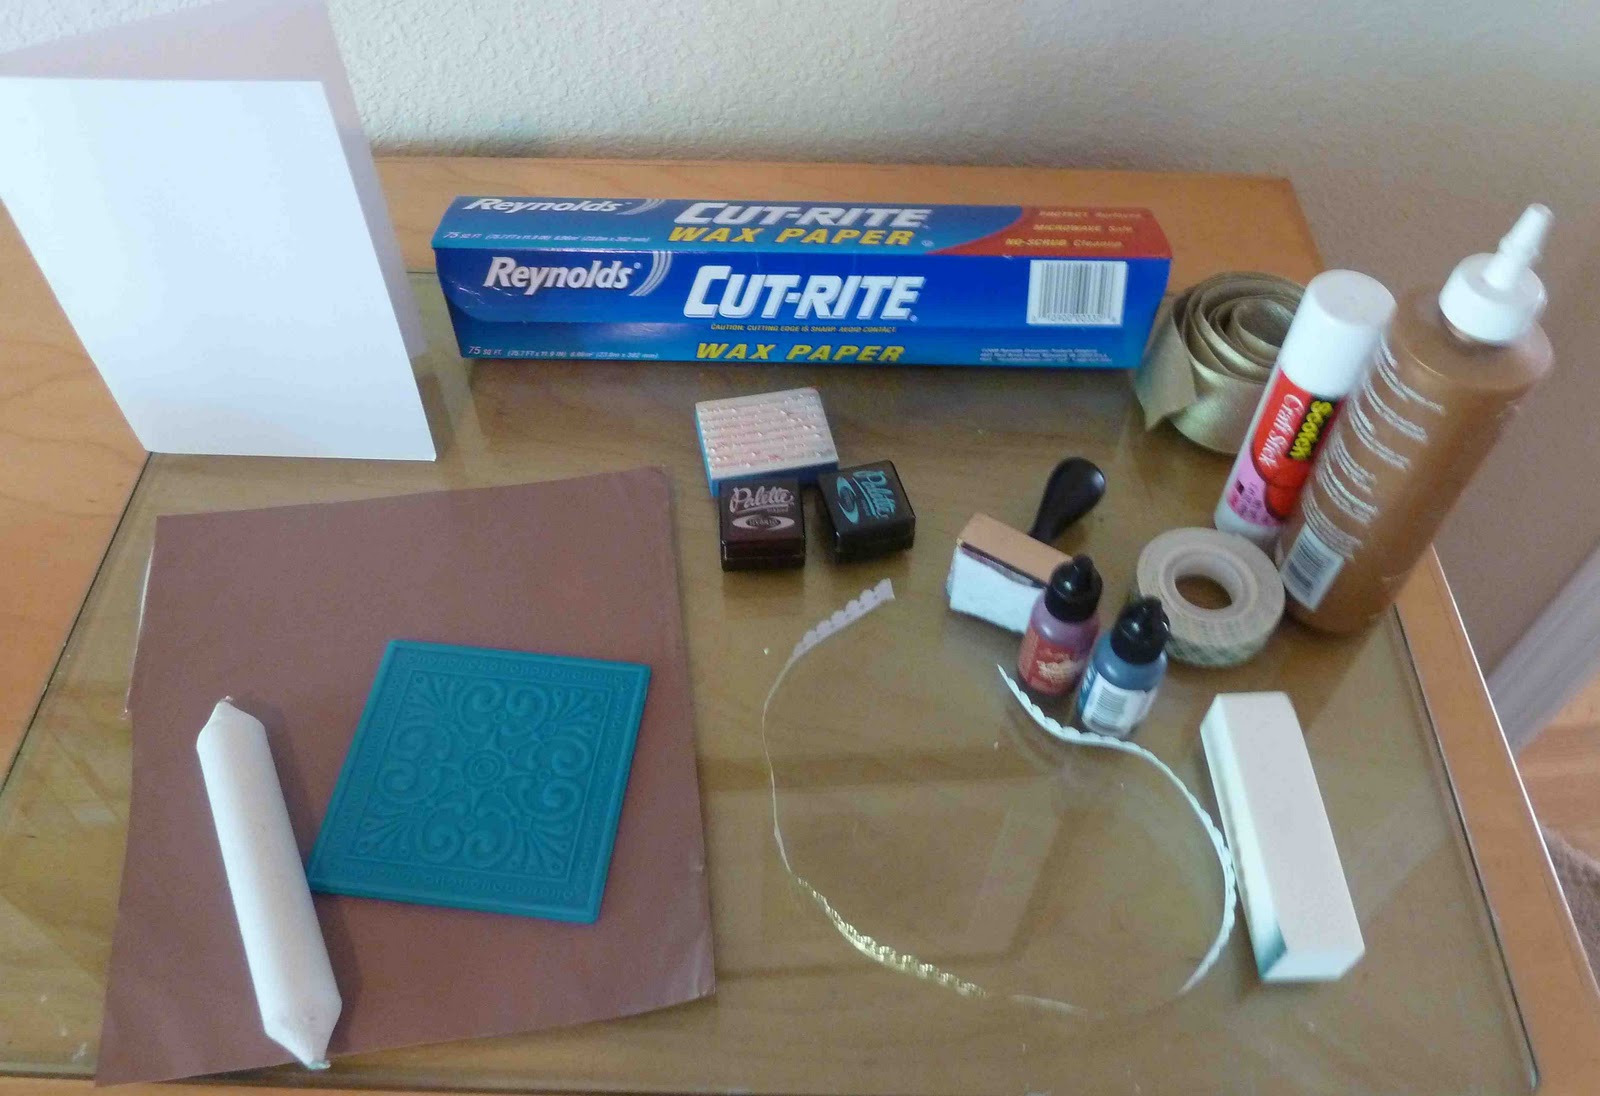
What you need, clockwise from top left: blank card, wax paper, rubber stamp, ink pads, ribbon, glues and foam tape, alcohol inks and ink applicator, sanding block, Dresden foil trim, art metal, metal mold, paper stump.
This project mixes a few unusual supplies: art metal and alcohol inks. We worked with art metal in Week 3; this week we'll add in both regular pigment ink and alcohol ink to create layered backgrounds.

Step 1: Grungy background
Take some pigment ink and rub the stamp pad directly on the front of the card to add color all over it. I started with a base of sunflower yellow.
Rub the stamp pad directly onto the card.

Then, take a rubber stamp of your choice -- I had a stamp with various lovey-dovey quotations on it -- and stamp it uniformly all over the card.
Second inked layer: rubber stamped quotations

Then grab whatever color stamp pads you might have -- I happened to have some blue and green pads at hand -- and stamp them over the rubber stamped images until the background has a nice mottled look with different complementary colors. Tim Holtz Distress inks are great for creating an aged look; I don't own them (yet) so I made do with regular ink pads. Palette brand hybrid ink pads work well because they're low-moisture enough that they don't saturate the paper and cause it to curl.

Use a paper towel to blend the stamped colors, and when it looks mottled and aged enough, move on to Step 2.

Step 2: Art metal heart
Take a look back at Week 3 for instructions on how to work with art metal, which is a thin, colored metal that you can emboss and cut with scissors. Cut out a heart shape from the metal and emboss and distress it following the instructions from Week 3.
Distressing the metal with the sanding block

Now let's color the metal using alcohol inks: special inks you can use on glossy surfaces and metal. They have a transparent effect similar to watercolor; you apply them using a special applicator with a felt pad. Squeeze a few drops of different colors of ink onto the alcohol ink applicator and pounce them around the art metal until you're satisfied with the look. I used a few different applications of ink using different colors to create a mottled effect similar to the mottled card background.
Adding alcohol ink to the metal with the ink applicator. See how it creates a subdued, mottled effect.

Step 3: Alcohol ink background
We'll continue playing with alcohol inks by adding a background layer of wax paper covered with alcohol inks. Tear off a piece of wax paper. With a new piece of applicator felt, add some alcohol ink and pounce it over the glossy side of the wax paper. Use less ink for a more subdued effect, and more ink for a more richly toned effect.

With some ink left over on the applicator felt, I added some to the cardstock background too. On plain paper, the inks come out brown and blotchy - perfect for the aged, distressed look we're going for here.

Step 4: Putting it all together
Cut the inked wax paper into a square and glue it to the middle of the card with a glue stick. Cut small pieces of gold Dresden foil trim and glue them to the top left and bottom right borders of the wax paper. Then glue a piece of wide gold ribbon diagonally across the card with tacky glue, on top of the wax paper layer and the card background.

Cut small pieces of double-sided foam tape and stick them on the back of the piece of art metal heart, then affix the heart to the center of the card. The foam tape gives a nice 3-D effect to the card.

Take some wax paper remnants that have alcohol ink on them and cut thin borders with them. Glue those to the top and bottom of the card with a glue stick.

And there you have it: a decidedly unconventional Valentine's Day card.

Sunday, January 16, 2011

Week 3: Book Cover Rescue

As luck would have it, this week's project is another book cover. At my daughter's Hebrew school, the parents of third graders made a special book cover this week, to be presented to our children in a ceremony this month.

Unfortunately, this seemingly innocuous book cover decorating project was fraught with peril. For one, we were cautioned to make something that our child would keep and treasure for their whole lives. Um, no pressure. Worse, decorating fabric is something I've never done. So I accidentally got iron-on transfer muck all over the front of the book cover. Then one of the cover's fabric handles fell off. Time for a do-over. Art metal and fusible web to the rescue!
From messed-up book cover #1 . . .
. . . to a final cover using art metal and fusible web.
What You Need
  • fabric book cover
  • art metal (Ten Seconds Studio; I used Peacock color)
  • art metal mold (Ten Seconds Studio; I used #BM02)
  • paper stump
  • sanding block
  • fusible web (Pellon Wonder Under or Dritz Stitch Witchery)
  • paper towels, parchment paper, press cloth, and fabric-safe glue
  • fabric and ribbon
  • glitter glue (Ranger Stickles; I used Patina color)
Materials needed, clockwise from left: art metal, book cover, art metal mold, paper stump, sanding block, glitter glue, fabric pieces, fusible web, and ribbon
This week we'll explore two techniques: working with art metal and with fusible web, a.k.a. iron-on-transfer for fabric. You may not have a special book cover presentation in your future, but you'll find plenty of uses for both art metal and fusible web in your own projects.

Step 1: Art metal
Art metal is amazingly cool: thin, colored metal sheets that you can cut easily with scissors, emboss, distress, and then overlay on almost anything. You can sew it onto fabric. You can glue it onto pretty much any surface to create picture frames, pen-and-pencil holders, card embellishments, or in this case, to class up a blue book cover.

Get started by taping the mold in place under your piece of art metal. Then, using a paper stump, rub over the metal, and your embossed image starts to appear. Outline the shapes thoroughly so that they're well-defined. You can use special metalwork tools for this; I don't have them, so I just applied pressure via the paper stump.
Embossing with the paper stump
Remove the mold, then lightly sand over the metal with the sanding block. The block removes the color from the metal, giving the raised areas an aged, distressed look. Make sure to keep a light but thorough touch so that the raised surfaces are uniformly sanded. Finish by wiping the metal surface with a damp paper towel to remove stray bits of sanded-off color.

Step 2: Fusible web
Now it's time to work with the fusible web to affix the fabric. Gather the fabric you'd like to attach to your project; I used wide corduroy ribbon and a tie-dye print fabric.

Position your fabric on the rough side of the fusible web. Heat your iron to a hot setting, then put a piece of parchment paper on top of your fabric so that you don't get iron-on transfer muck on your iron. Iron the fabric for about ten seconds and check that it's affixed itself to the transfer backing.

Cut out your shape (you can pencil it in on the smooth paper backside of the fusible web). Then, peel off the paper backing. Now you're ready to iron your fabric to the book cover or to your chosen fabric background.

Step 3: Finishing
Measure your book's spine width and leave room for the book's spine in your book cover design. Then do a dry run, placing your shapes and metal before affixing them.

When you're satisfied with your design, iron on your fabric first, so that the art metal doesn't get in your way. Position your shapes on the background, then take a damp cloth and cover your fabric with it. I used a lightweight white fabric so that I could see what was going on underneath. Press firmly with an iron on "wool" setting for 10-20 seconds to affix your fabric. It takes a minute or two for the fabric to finish heat-setting, so you do have a bit of leeway if you make a mistake. I kept messing up -- the fabric would move from where I'd placed it -- so I just peeled up the fabric and tried again.

Next, glue the metal to your background. I used my favorite Tacky Glue, but any glue with a strong bond that's fabric-safe will work here. You can also sew the metal to fabric with a sewing machine. Use paper towels to wipe up excess glue that seeps out after you press down your metal.

Finish with embellishments as needed. I messed up by using too much glue, which dried unattractively on the front cover (ack! again!), so I added a distraction in the form of Stickles, which is a classier version of glitter glue with an easy-to-control fine tip.

My daughter may or may not keep this cover for her whole life, but now, at least, it's something I can feel proud to present to her.