There's something so compelling about metal - it's shiny, it's smooth, and with lightweight art metal, you can do just about anything you'd like with it. You can cut it with scissors, distress it, emboss it, punch holes in it - and for this week, create a piece of (somewhat) outdoor-safe art. Building on the sea themes of the last few weeks, we'll create a mermaid, and as a bonus, a little fishy friend for her.
 |
| Mermaid made of embossed, inked metal |
What you need
- paper, pencil, eraser, and scissors
- colored art metal (Ten Seconds Studio)
- medium weight pewter-colored art metal (Amaco ArtEmboss)
- 1/8 inch hole punch
- brads (Tim Holtz Idea-ology mini fasteners)
- paper stump, fine-point stylus
- sanding block
- art metal mold (Ten Seconds Studio)
- alcohol inks and alcohol ink applicatr (Ranger Adirondack)
- glue dots (Zots)
- popsicle sticks
- seashells
 |
| Some of the items you need, clockwise from left: art metal, art metal mold, scissors, sanding block, paper stump, glue dots, popsicle sticks, seasehlls, brads, alcohol inks and alcohol ink applicator |
Here's how to create the mermaid:
 |
| Sketch out your mermaid on a large sheet of paper. Note where the jointed parts will be: neck, elbows, hand, tail. |
 |
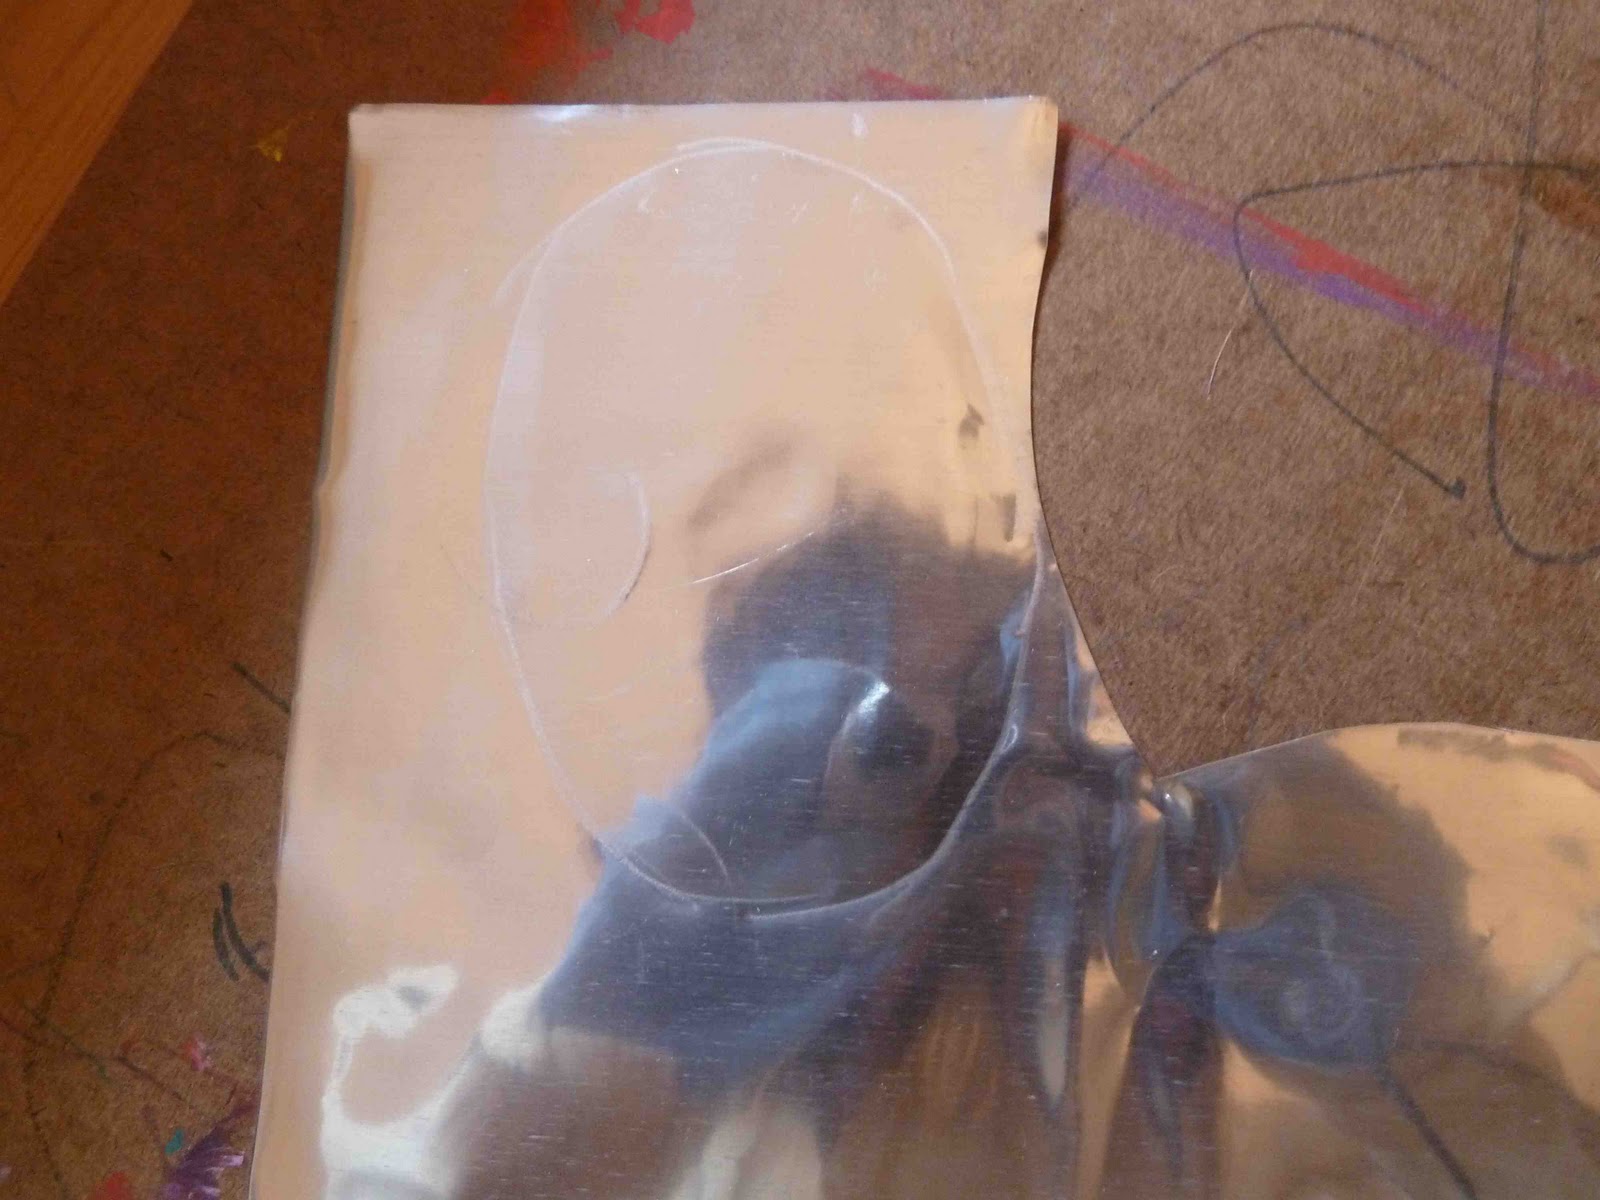
| Place the pewter art metal underneath the paper. Using a fine-point wood stylus (or any sharp-pointed tool), trace over each part of the mermaid. The impression will transfer to the metal. |
 |
| Cut out the pieces, punching holes for the jointed parts. |
 |
| Put the mermaid together with brads and, using scissors, make any adjustments needed to the shapes. Then take the tail parts off so you can emboss and color them later. |
 |
| Using a gold piece of art metal and the wood stylus, draw stylized shapes for the hair and cut them out. |
 |
| Time to emboss! Using the paper stump, rub some embossed patterns into the hair and tail. |
 |
| Use the sanding block to rub over the raised areas, removing the color from the raised spots. Wipe down the metal with a damp paper towel. |
 |
| Here are all the embossed pieces, ready for coloring. |
 |
| Add alcohol ink drop by drop onto the applicator felt in your chosen colors, then use the applicator to stamp the colors all over the embossed pieces. The more times you stamp with the ink, the more saturated the colors will look. |
 |
| Apply glue dots to the hair pieces and stick them on in a wild and wavy pattern. The glue dots are quite strong; you'll only need one per piece of hair. |
 |
| Put the mermaid pieces back together with brads, turn her over, and using glue dots, apply the popsicle sticks to the back of the body parts to give the girl some structure so she doesn't flop around. |
|
| Add embellishments: small seashells on the tail, a seashell belly button, and shell bikini, hair piece, and bracelet. |
 |
| The 8-year-old got into the sea theme and made a fishy friend for our mermaid. |
I'm planning to hang the mermaid outside, on a protected wall. She should do fine during the dry season; the glue dots and alcohol inks might not hold up in the rain. The best part: because she's poseable, and the metal is soft and bendable, you can change her position depending on your mood. Interactive art indeed.


I love your mermaid and your blog. What a fun project!
ReplyDeleteThank you Shannon! Now I just need to figure out how to hang her up . . . any ideas?
ReplyDeleteString wire around the back side of the brads?
ReplyDeleteOoooh nice idea. The brads were too small but that helped give me a new idea - staple gun. Added staples to the popsicle sticks on the back of the mermaid and strung wire through them. Perfect! Thanks Shannon!!
ReplyDeletePerfect!!!
ReplyDeleteBeautiful mermaid! Thanks for sharing.
ReplyDeleteThank you Valavani and Sherry! Good luck with your projects!
ReplyDelete