
 |
| Two views of the finished pot |
- terra cotta pot
- acrylic gesso (Liquitex)
- artist's acrylic paints (colors of your choice; I used ultramine blue, cadmium red medium, cadmium red deep, phthalocyanine green, and titanium white)
- artist's paintbrushes (various sizes: large bristle for covering large areas, and small smooth brushes for detail work)
- foam brush
- palette paper or freezer paper
- sun and star-shaped stencils or polymer clay, rolling pin, sun and star shaped cookie cutters
- tacky glue
- gloss varnish (Liquitex)
- optional: beads and embellishments, face-shaped rubber stamp, glitter glue (Stickles)
 |
| What you need, clockwise from left: polymer clay, cookie cutter, rubber stamp, rolling pin, tacky glue, gloss varnish, palette paper, acrylic paints, brushes, foam brush |
Step 1: Prep the pot
This pot had been home to last summer's sunflowers, so I soaped it up with some dish detergent to get the grime off, washed it thoroughly with the garden hose, then let it dry overnight.
 |
| Start with a clean, dry terra cotta pot |
 |
| Adding gesso |
 |
| The gessoed pot, ready for painting |
Let the gesso dry.
Step 2: Design
With a pencil, sketch in the rough basics of your design. My original plan was a straight line across the middle of the pot, with the sun above and stars below, but that looked pretty boring when I sketched that in. Changing it to a swooping curve became much more dynamic.
Step 3: Paint background colors
Squeeze your paint colors onto the palette paper or freezer paper, keeping handy some paper towels and a water container to dip your brushes in. Use any colors you like; for the bottom half of the pot, I mixed phthalocyanine green with cadmium yellow medium and a little titanium white. The top half is ultramine blue mixed with a little cadmium yellow medium. And for the red rim and red accents, I used cadmium red medium mixed with a little cadmium red deep. Using these strong colors almost straight from the tube without mixing in much white creates a bright, saturated color effect - exactly what's needed to banish the winter blahs.

 |
| Painting in the background colors |
After the large areas of paint are dry, add whatever painted embellishments you like. I added some red and yellow accents in the middle and around the bottom, and some yellow swirls near the top and inside the pot rim.
 |
| The finished background, with painter's tape marking the placement for the suns and stars |
Now you can either stencil sun and star shapes onto the pot using acrylic paint, or create polymer clay suns and stars to glue on to the pot, as here, which gives the pot a fun 3-D look.
Follow the polymer clay instructions from Week 5, using sun and star-shaped cookie cutters to cut out the shapes.
 |
| Cutting out the sun shape with a cookie cutter |
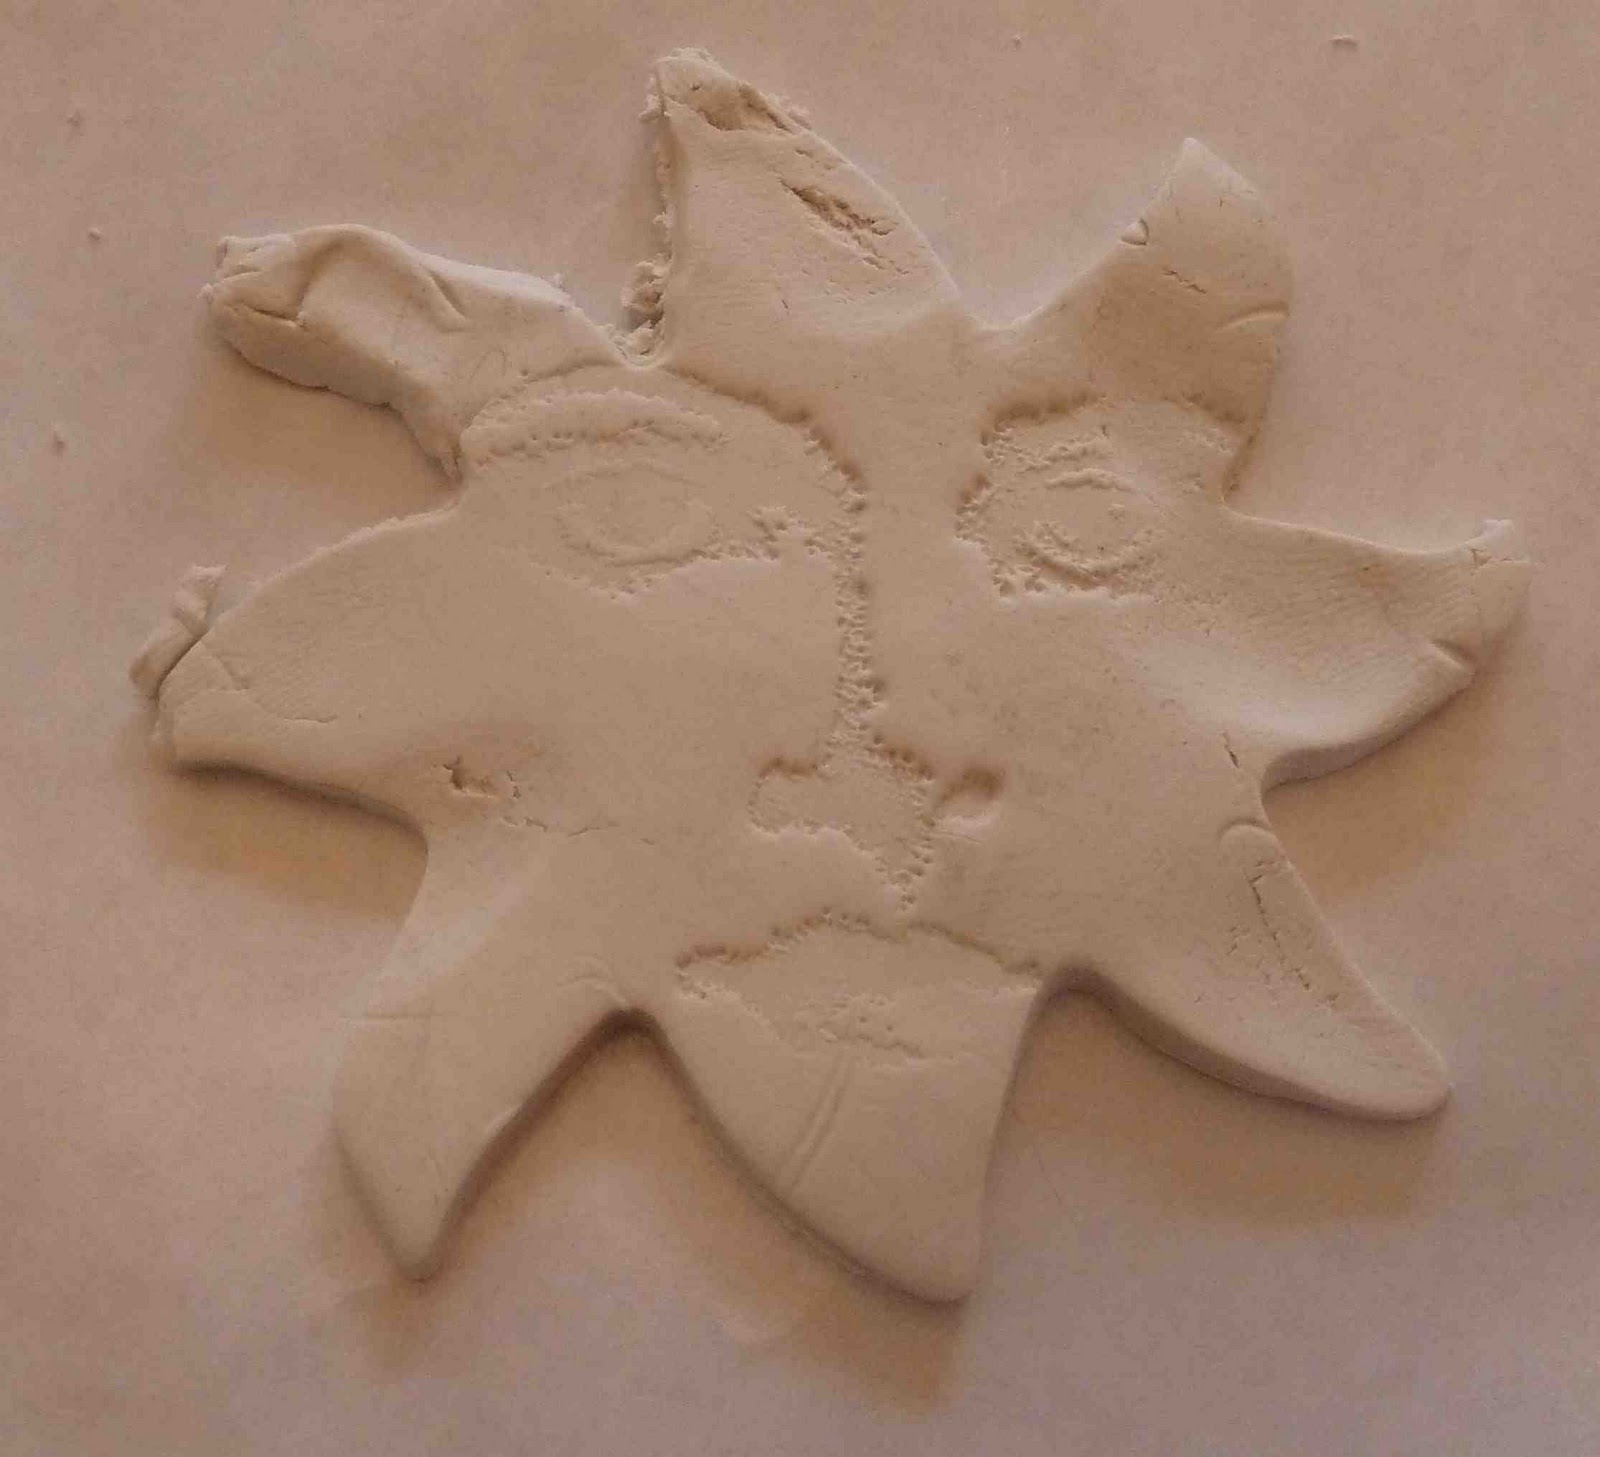 |
| I stamped a face shape onto the sun for an interesting accent |
Embellish your suns and stars however you like; I used glitter glued down with acrylic polymer medium for the sun faces, along with beads glued onto the sun faces for eyes and mouths, and beads scattered onto the stars. You could also add shine and color directly to unpainted polymer clay with pigment powder.
Glue your suns and stars onto the pot. This was the tricky part - because the pot was upright, the sun and stars kept wanting to slip down the sides of the pot. Blue painter's tape worked well to hold them in place while they dried.
 |
| Almost finished . . . |
Step 5: Varnish
Your pot will be weather resistant once you seal it with a protective coat of varnish. Brush on two coats of acrylic gloss varnish, letting the first coat dry before brushing on the second. Then . . . count the days until spring.
Update: have a look at Week 10 to see a stenciled version of this pot!
Very cool. I agree that the curving line is much more vibrant and interesting than a straight one would have been.
ReplyDeleteLet me know if you ever need an assistant!
Just discovered your blog! Aren't you the fearless one ;-0 Sure do like the looks of it...... your instructions and the finished projects are attractive and useful. Do not see a sidebar gadget to add myself as a follower, but if you include one, I will join.......
ReplyDelete@Grace -- thanks! If only I was organized enough to need an assistant! Now a crafting buddy -- anytime!
ReplyDelete@arts4all -- so glad you're enjoying it! Love your blog and I'll be following it, too. I just added a follower button to mine, and looking forward to hearing your feedback over the coming weeks at make52!